If in any circumstances skill name is changed in Avaya CM then we try to sync skill from OCM skill configuration module. skill will still show the old name .
Here Name of the skill is EM_Emailskill
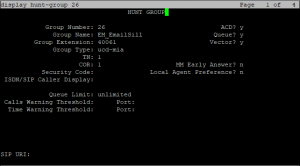
and even after sync skill from OCM we see the old name
in order to overcome this we have to delete skill from CM then do sync skill for skill configuartion and then add again then we have to sync skill again


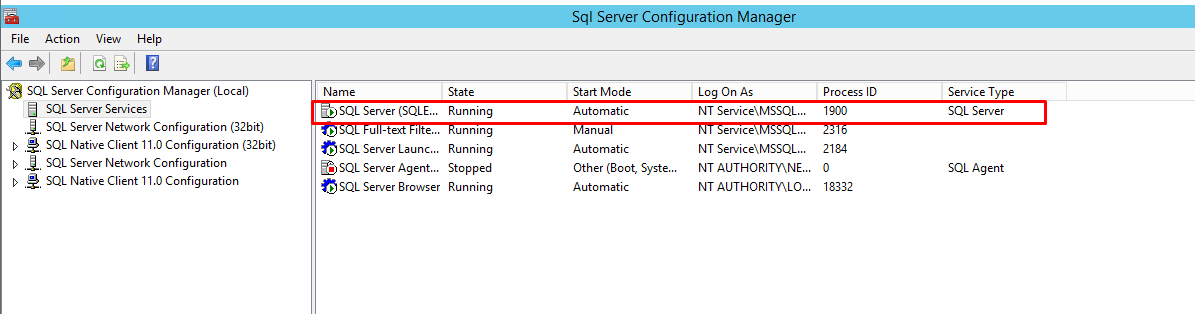
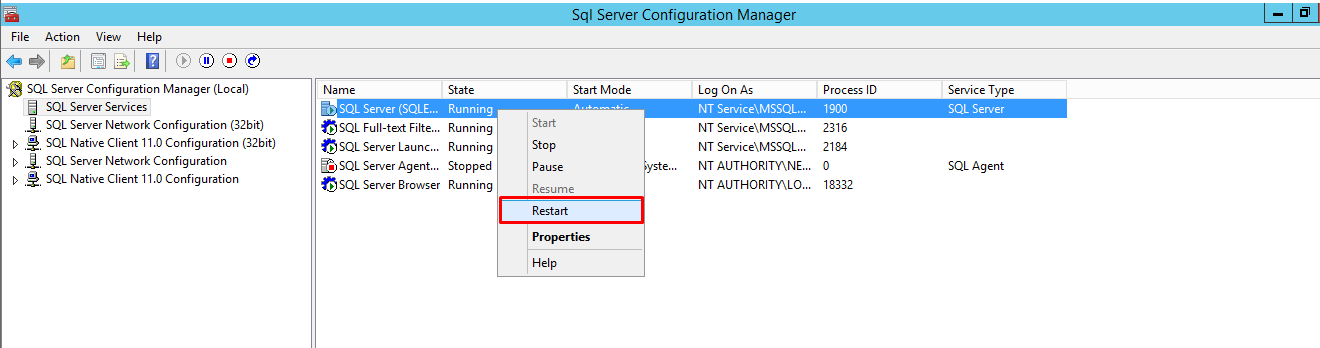
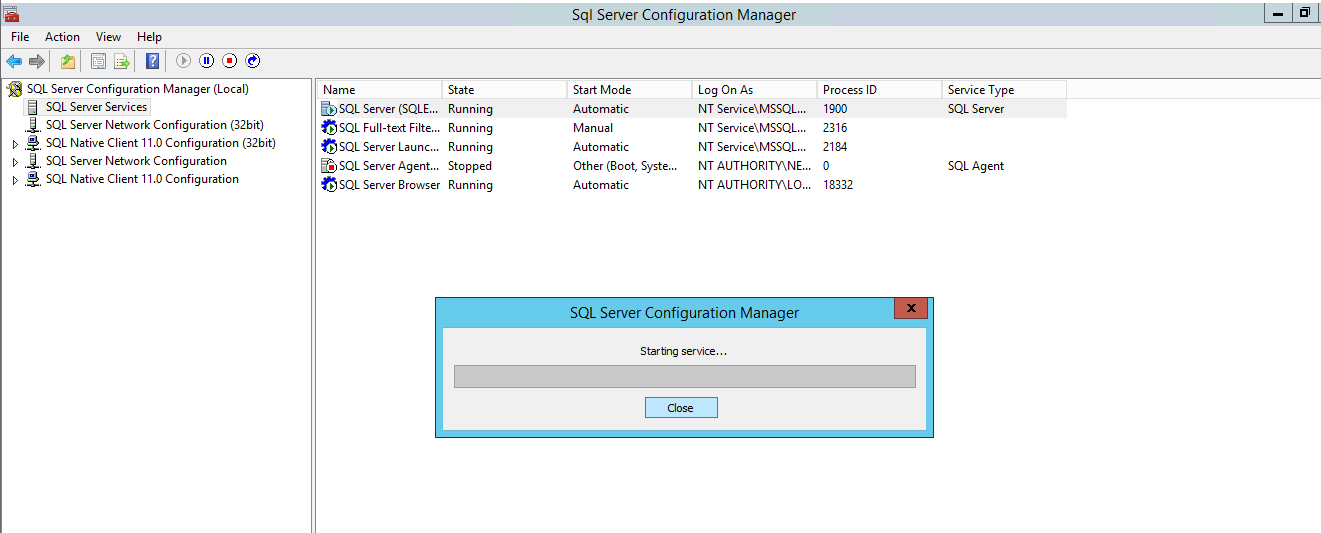
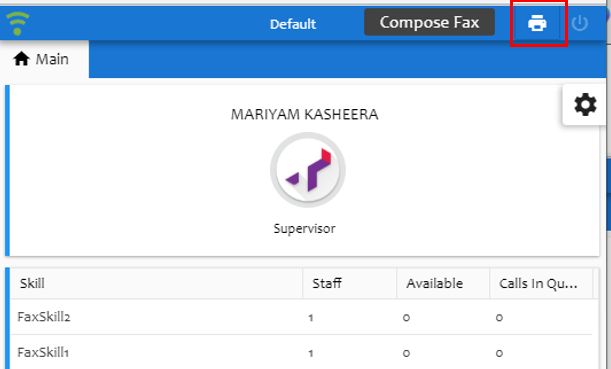
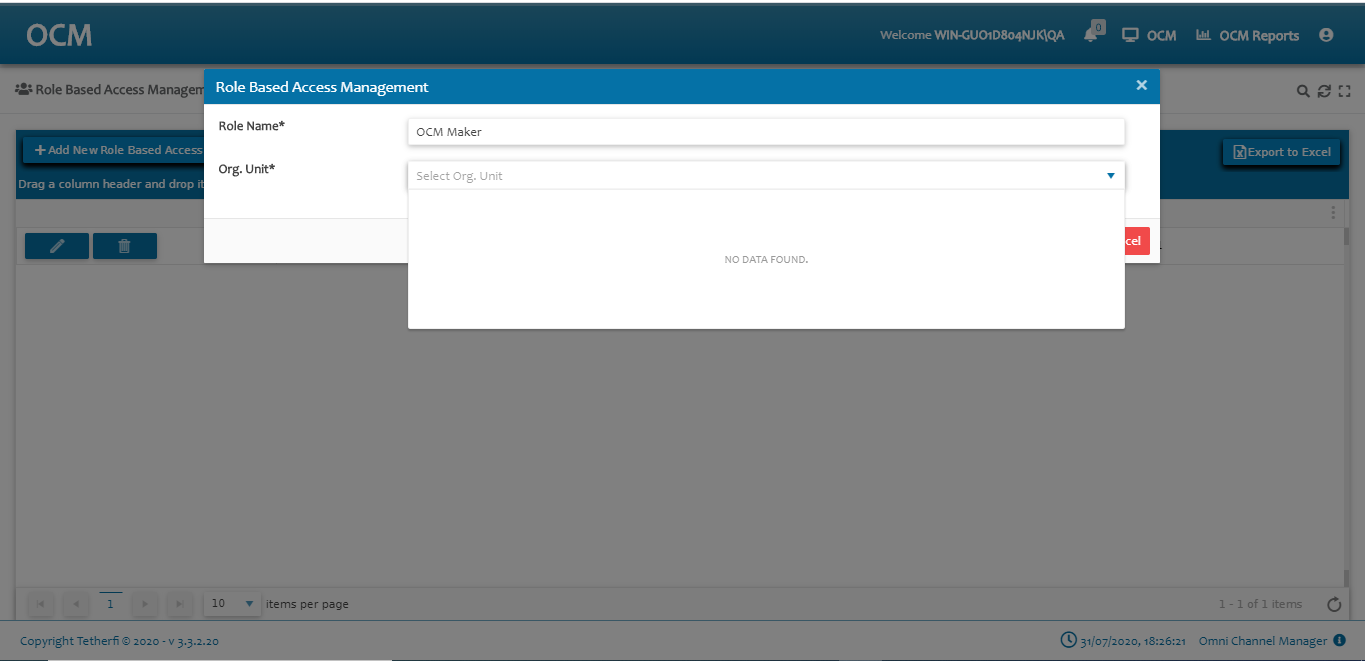
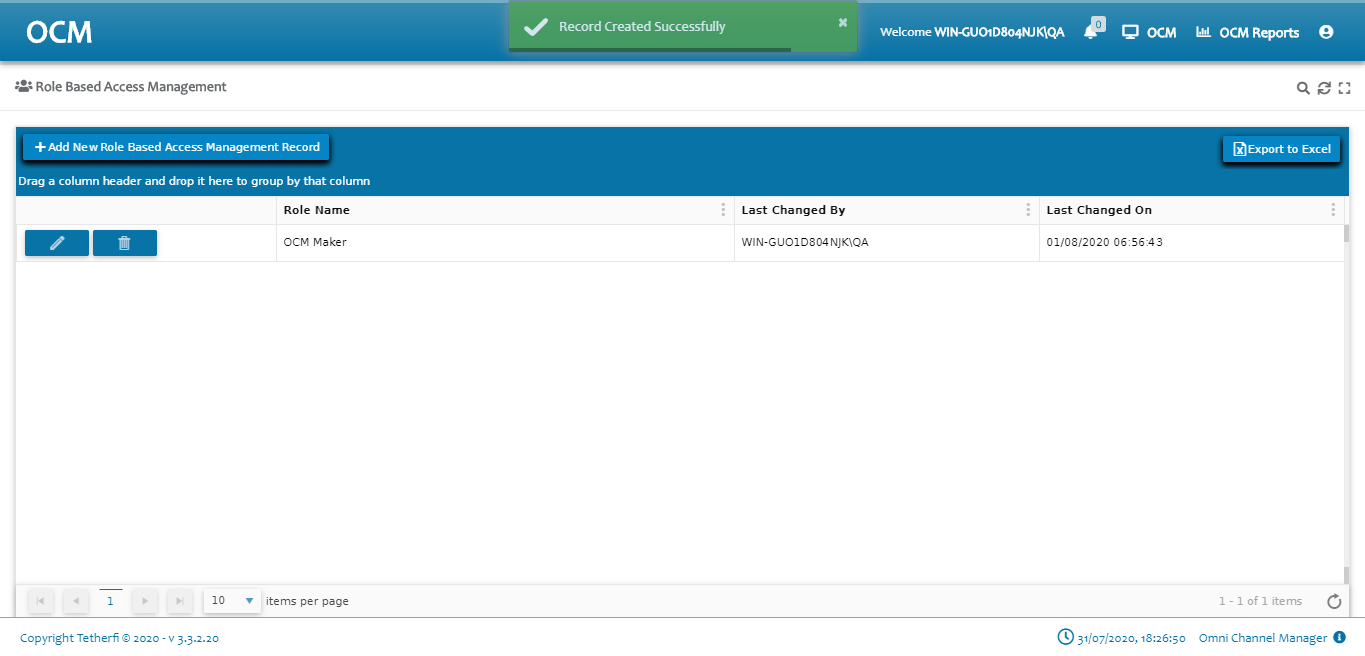
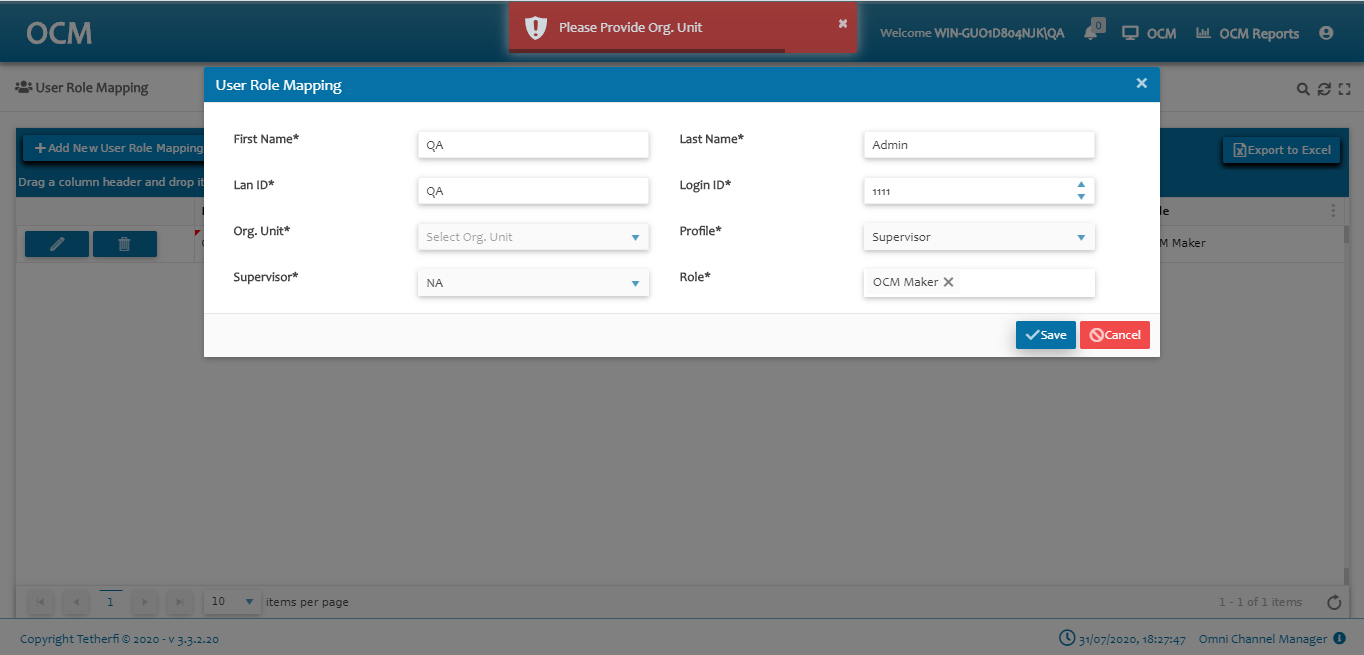
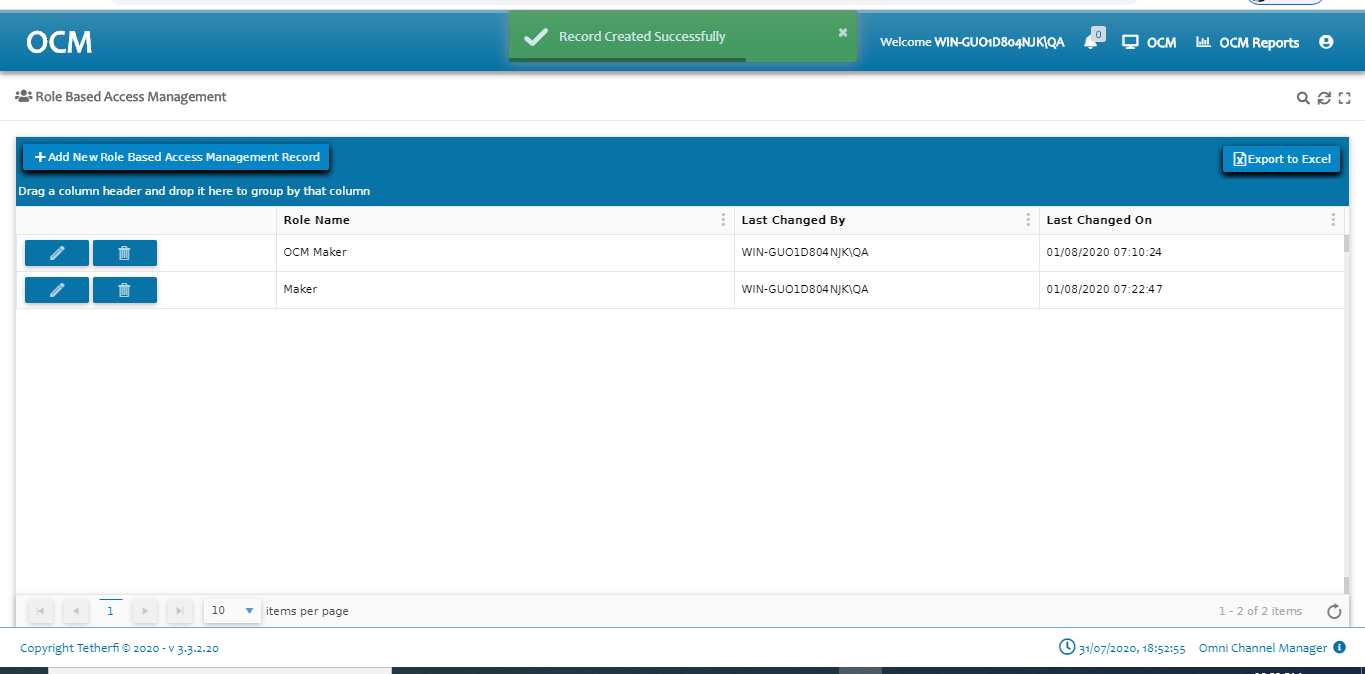
 Components to Verify:
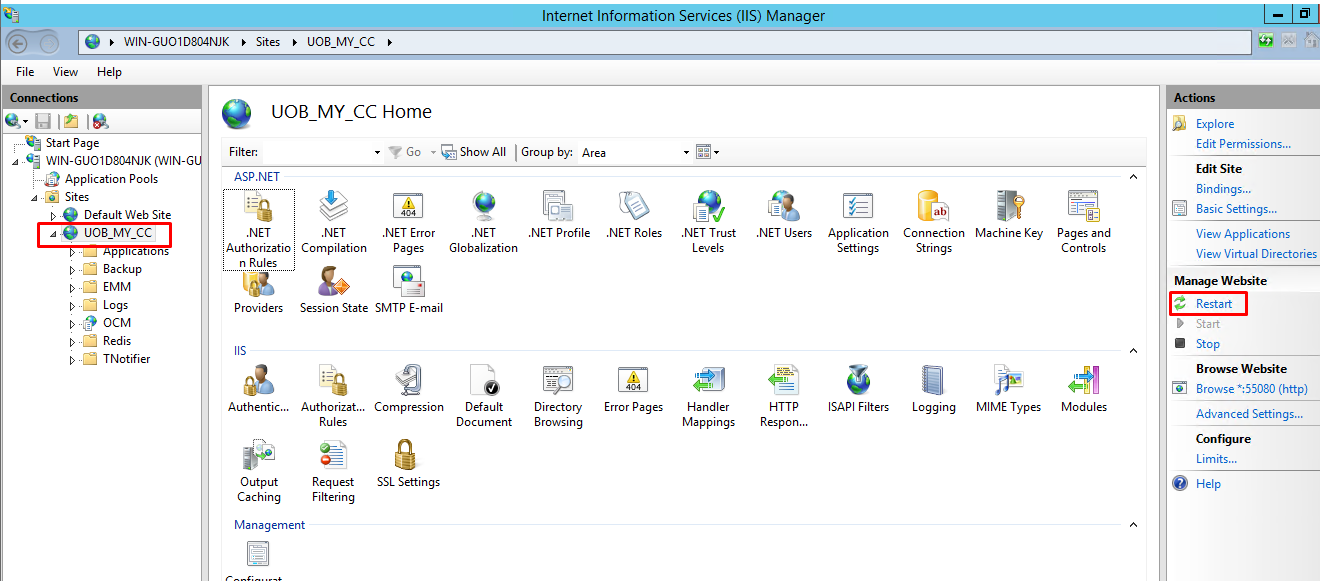
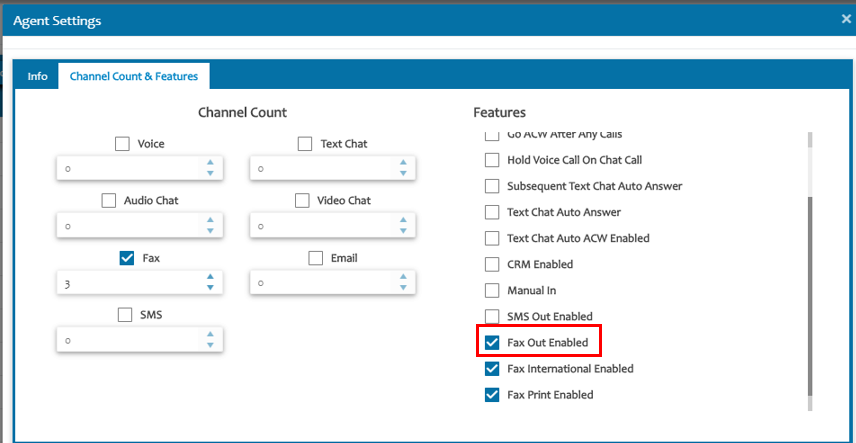
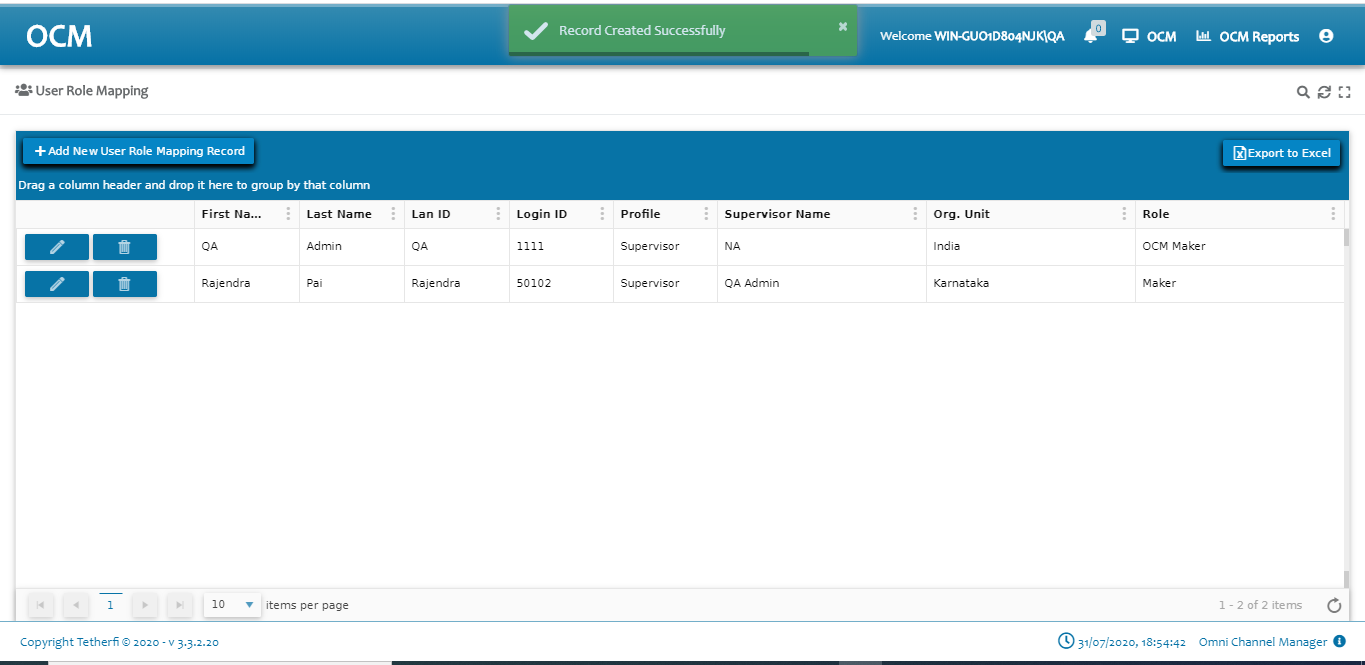